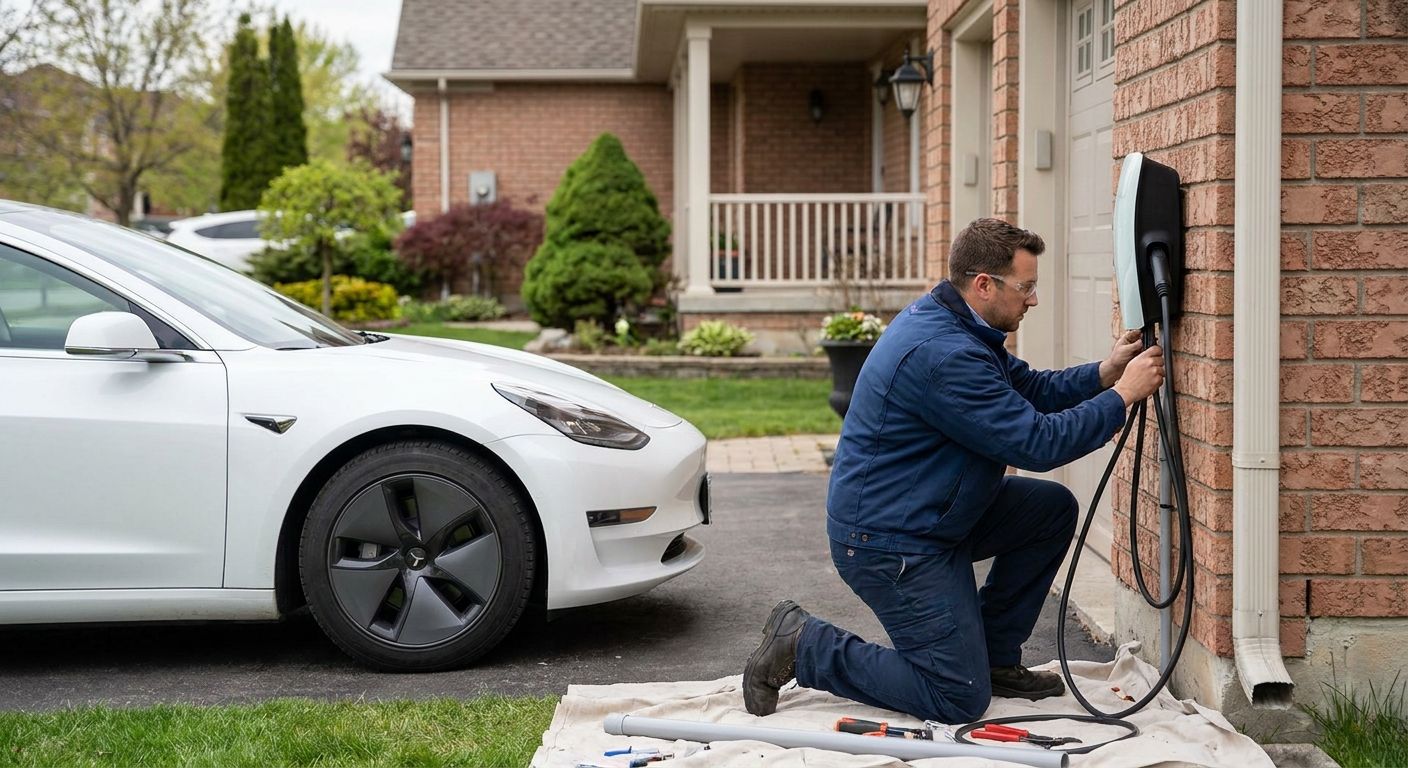
EV Charger Installation for Homes: 2026 Homeowner Guide
August 31st, 2026
Installing an EV charger in a single-family home means adding a dedicated 240-volt circuit and a permanently wired or plug-in Level 2 charging station sized to both your vehicle and your home's existing electrical panel. Homeowners face a different set of constraints than apartment or fleet installs: one panel, one meter, and often decades-old wiring that was never built to carry a second major appliance load.
- EV charger installation for homes in 2026 starts with a load calculation on the existing panel, not the charger itself.
- Level 2 (240V) is the practical standard for single-family homes; Level 1 (120V) rarely covers daily driving.
- Expert Services recommends a licensed electrical inspection before buying any charger, especially in panels installed before 2010.
- Permits and inspections are not optional in Utah jurisdictions for a new 240V circuit — skipping them voids most manufacturer warranties.
Why EV charger installation matters for single-family homeowners
A single-family home carries the full electrical load of the property on one panel — no shared building infrastructure, no property manager splitting circuits. That means an EV charger competes directly with your HVAC system, water heater, range, and dryer for available amperage.
Many Northern Utah homes built before 2010 shipped with 100-amp or 125-amp panels. A Level 2 charger alone can draw 30 to 50 amps continuously. Add central air conditioning and an electric range to that same panel and you're close to the ceiling before the charger even plugs in. This is the single biggest reason homeowner installs stall or get flagged at inspection: the charger was bought before the electrical panel upgrade question got answered.
The homeowner who checks panel capacity first avoids the most expensive mistake in EV charger installation: buying the charger before knowing if the house can run it.
Step 1: Assess your electrical panel capacity
Every EV charger installation for homes begins here, not with charger shopping. A licensed electrician runs a load calculation that adds up your existing circuits — HVAC, water heater, range, dryer — against your panel's rated amperage.
- Check your panel's rated capacity, printed on the inside of the panel door (commonly 100A, 125A, 150A, or 200A in Utah homes)
- List every major appliance already on a dedicated circuit
- Note the age of the panel — anything installed before 2010 deserves a closer look
- Review the signs you need an electrical panel upgrade before committing to a charger model
- Confirm whether your panel has open breaker slots for a new 240V double-pole breaker
Step 2: Choose the right charger level for your driving habits
Level 1 chargers plug into a standard 120V outlet and add roughly 3-5 miles of range per hour — fine for a plug-in hybrid driven under 20 miles a day, too slow for most full EVs.
- Match charger amperage to your vehicle's onboard charger rating (most EVs in 2026 accept 32-48 amps)
- Choose a hardwired Level 2 unit for permanent garage installs; choose a plug-in unit (NEMA 14-50) if you want portability
- Confirm your daily mileage against overnight charging windows — a 40-amp Level 2 charger fully replenishes most commuter EVs in 6-8 hours
- Skip smart-charger features you won't use if cost is the deciding factor — the wiring and permit matter more than the app
Step 3: Map the wiring path from panel to garage or driveway
Wire run length changes both material cost and voltage drop. A charger 15 feet from the panel is a different job than one on the far side of a detached garage.
- Measure the shortest safe conduit path from panel to charger location
- Account for wall penetrations, unfinished basements, or crawl spaces the run has to cross
- Factor in outdoor-rated conduit and weatherproof enclosures for driveway-mounted units
- Confirm wire gauge matches breaker amperage — undersized wire on a long run is a common code violation
Step 4: Pull permits and schedule inspection
A new 240V circuit is not a job to run without a permit. Utah jurisdictions require electrical permits for new dedicated circuits, and most EV charger manufacturers require proof of licensed installation to honor a warranty.
- Confirm permit requirements with your local building department before work starts
- Schedule inspection after rough-in wiring and again after final connection, per most Utah municipal codes
- Keep the inspection report on file — it matters for home resale and insurance
- Verify the installing electrician is licensed in Utah, not just certified by the charger manufacturer
Step 5: Install the dedicated circuit and charging station
This is the physical work: a dedicated double-pole breaker, correctly sized wire, and a mounted charging station wired to code.
- Install a dedicated 40 to 60-amp double-pole breaker sized to the charger's continuous load
- Mount the charging station at a height and location that clears vehicle doors and walking paths
- Ground the circuit per NEC 625 requirements for electric vehicle supply equipment
- Label the breaker clearly in the panel directory
Step 6: Add surge and safety protection
An EV charger is now one of the largest continuous electrical loads in the house, running for hours at a stretch. That makes surge protection and GFCI compliance worth addressing at the same time, not as an afterthought.
- Confirm GFCI protection is built into the charging station or added at the breaker, per current code
- Consider whole-house surge protection if the home already has smart thermostats, security systems, or other sensitive electronics sharing the panel
- Check that outdoor installations use weatherproof, in-use covers rated for exterior exposure
- Test the GFCI function monthly once installed — most manufacturers recommend it
Step 7: Test, label, and monitor charging load
After install, confirm the system performs as designed before relying on it every night.
- Charge a full cycle and confirm the amperage draw matches the rated output
- Watch the breaker for warmth or tripping in the first two weeks of regular use
- Note charging time per session to catch a slow-charging fault early
- Keep the installation and inspection paperwork with your home records for resale
Get Your EV Charger Installed Right
Licensed panel evaluation and dedicated circuit install for Northern Utah homes.
Comparing charging options for single-family homes
| Option | Best For | Key Limitation |
|---|---|---|
| Level 1 (120V outlet) | Plug-in hybrids, low daily mileage | Adds only 3-5 miles of range per hour |
| Level 2 hardwired station | Daily EV drivers with a garage | Requires a dedicated 240V circuit and permit |
| Level 2 plug-in (NEMA 14-50) | Homeowners who may relocate the charger | Needs a properly rated outlet, not just any 240V receptacle |
| Shared circuit with an existing appliance | Nobody — not a real option | Overloads the circuit and fails inspection |
Verdict: a hardwired Level 2 station on its own dedicated circuit is the standard for single-family EV charger installation in 2026 — Level 1 only works for light, occasional charging.
Common mistakes single-family homeowners make
- Buying the charger before checking panel capacity. The charger sits in a box for weeks while an electrician sorts out whether the panel can handle it.
- Sharing a circuit with a dryer or range. This trips breakers repeatedly and is a common cause of circuit breaker repair calls after a DIY charger install.
- Skipping the permit. Unpermitted 240V work shows up during home inspections at resale and can delay a sale.
- Mounting the charger too far from the panel. Long, undersized wire runs cause voltage drop and slower charging than the unit is rated for.
- Ignoring future EV plans. A household adding a second EV within a few years should size the panel and wiring for that load now, not twice.
FAQ
How much does EV charger installation cost for a single-family home?
Cost depends on panel capacity, wire run length, and whether a panel upgrade is needed alongside the new circuit. A licensed electrician can quote an exact number after a load calculation and site visit.
Do I need a panel upgrade for a Level 2 EV charger?
Only if your existing panel doesn’t have enough spare capacity for the new 240V circuit. Homes with 100-amp panels installed before 2010 are the most common candidates for an upgrade.
Can I install an EV charger myself?
Running a new 240V dedicated circuit is electrical work that requires a permit and licensed installation in most Utah jurisdictions. DIY installs commonly fail inspection or void the charger’s warranty.
Is Level 1 or Level 2 charging better for a home?
Level 2 (240V) is better for most single-family homes with daily EV use, adding significantly more range per hour than a standard 120V outlet. Level 1 only makes sense for plug-in hybrids or very low daily mileage.
How long does EV charger installation take?
A straightforward install with an existing panel that has spare capacity typically takes a single day for the electrical work, not counting permit approval time.
Does an EV charger need its own breaker?
Yes. A dedicated double-pole breaker sized to the charger’s continuous load, commonly 40 to 60 amps, is standard practice and required by code.
Will an EV charger increase my electric bill noticeably?
Charging adds a real load to your monthly usage, since a Level 2 charger can draw 30-50 amps for several hours at a time. The exact increase depends on your utility rate and how often you charge.
Can an EV charger share a circuit with another appliance?
No. EV chargers need a dedicated circuit — sharing with a dryer, range, or other large appliance overloads the circuit and fails electrical inspection.
One last thing
Most homeowners assume the charger is the expensive part of EV charger installation for homes — it's usually the panel. A 100-amp panel maxed out by HVAC, a range, and a water heater needs a service upgrade before the charger circuit goes in, and that conversation is easier to have in 2026 before the unit is sitting in the garage unused.
Related guides
- EV charger installation for apartment complexes
- Circuit breaker repair for homes with frequent trips