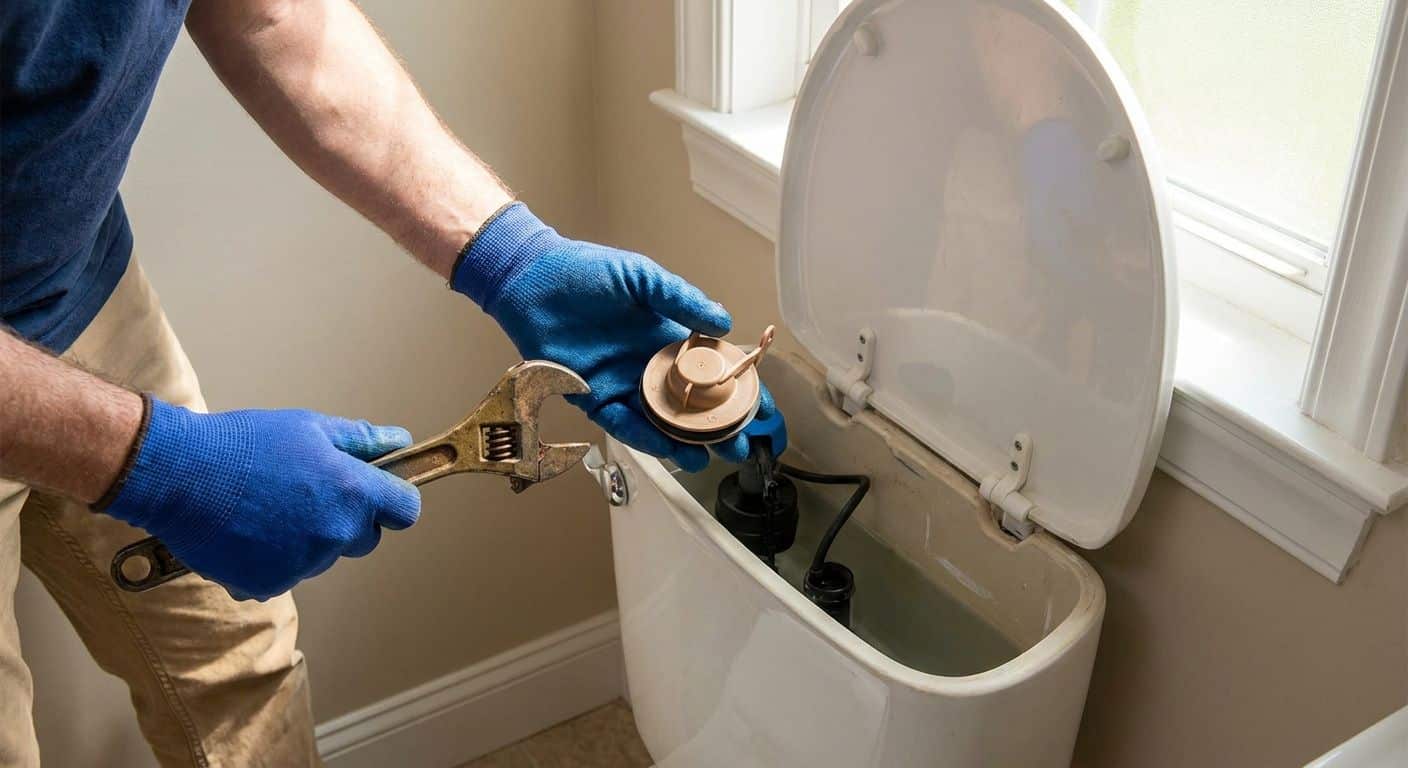
How to Fix a Running Toilet: DIY Guide for 2026
August 23rd, 2026
A running toilet almost always comes down to one of three parts inside the tank: the flapper, the fill valve, or the float. This guide walks you through diagnosing which one is failing and fixing it yourself in under 30 minutes, with no special tools beyond what's already in a junk drawer.
- A worn flapper causes most running toilets — replace it for $5-$10 and the problem is usually gone in 2026.
- If the tank refills constantly without flushing, the fill valve or float is the culprit, not the flapper.
- A running toilet can waste up to 200 gallons of water a day, according to EPA WaterSense estimates.
- Jiggling the handle is a temporary fix; a new flapper or fill valve kit is the permanent one.
- If the water level keeps changing after a full parts swap, the flush valve seat may be cracked and needs replacement.
Why this matters
A toilet that runs 24 hours a day isn't a minor annoyance — it shows up on the water bill and it usually means one $10 part has failed. Ignoring it for weeks means paying for water that never leaves the tank.
Expert Services sees this same call pattern every summer across Northern Utah: homeowners assume they need a plumber, then find out the fix is a flapper swap they could've done themselves in 2026. The same logic applies to a lot of small plumbing failures — a leaking kitchen faucet is usually a worn washer or cartridge, not a reason to replace the whole fixture.
Knowing which part failed saves a service call. Not knowing means you keep hearing that hiss at 2 a.m. for another month.
What you'll need
- Rubber gloves (tank water isn't clean, even though it looks clear)
- A towel or two for spills
- A universal flapper ($5-$10 at any hardware store)
- A fill valve replacement kit ($10-$20) — buy this even if you're not sure you need it yet
- Adjustable pliers or channel-lock pliers
- A sponge or small cup to bail residual tank water
- 20-30 minutes, uninterrupted
Skip the flapper-only fix if your toilet is more than 15-20 years old and has had repeated issues — at that point a full toilet installation may cost less over time than another round of parts.
The steps
1. Shut off the water and flush to drain the tank
Find the shutoff valve behind or beside the toilet base and turn it clockwise until it stops. Flush the toilet and hold the handle down to drain as much water from the tank as possible.
This step matters because working inside a full tank means water everywhere and no clean way to see what's actually broken. Sponge out the last inch or two that won't drain on its own.
Common mistake: skipping the shutoff and trying to diagnose a running toilet with the tank still filling — you'll never isolate the real problem.
2. Inspect the flapper first
The flapper is the rubber (or plastic) piece at the bottom of the tank that seals the drain hole between flushes. Lift the tank lid and look at it directly — check for warping, cracking, or a mineral buildup ring around the edge that keeps it from sealing flat.
Most running toilets trace back to this one part. Utah's hard water accelerates flapper wear faster than in regions with softer water, so replacement every 3-5 years isn't unusual.
Expected outcome: if the flapper looks cracked, brittle, or doesn't sit flush against the seat, that's your fix — move to step 3.
3. Replace the flapper
Unhook the old flapper from the two pegs on either side of the overflow tube and disconnect the chain from the flush handle arm. Attach the new flapper to the same pegs and connect the chain, leaving about half an inch of slack.
Too much slack and the flapper won't seal; too little and it won't drop closed after a flush. Turn the water back on, let the tank fill, and flush once to test.
Common mistake: buying a flapper that doesn't match your toilet's drain hole size — measure it first or bring the old one to the store.
4. Check the fill valve if the flapper wasn't the issue
The fill valve is the taller mechanism on the left side of the tank that controls how the tank refills. If water trickles into the overflow tube constantly, or you hear a faint hiss even when the tank is full, the fill valve isn't shutting off properly.
This is the second most common cause of a running toilet in 2026 service calls, right behind the flapper.
Expected outcome: water level should sit about 1 inch below the top of the overflow tube. If it's higher and spilling into the tube, the fill valve needs adjustment or replacement.
5. Replace the fill valve
Shut the water off again, drain the tank, and disconnect the supply line from the bottom of the fill valve using pliers. Unscrew the locknut underneath the tank, pull the old valve out, and insert the new one, adjusting the height so it sits about 1 inch above the overflow tube.
Hand-tighten the locknut, then give it a quarter turn with pliers — overtightening cracks the tank. Reconnect the supply line and turn the water back on slowly.
Common mistake: cranking the locknut with full pliers force. Porcelain tanks crack under too much torque, and that turns a $15 fix into a full toilet replacement.
6. Adjust the float if the tank overfills
On older ball-float models, bend the float arm down slightly to lower the shutoff point. On newer cup-style floats, pinch the clip and slide it down the fill valve shaft.
The float tells the fill valve when to stop. Set too high, it overflows into the tube and keeps running.
Expected outcome: water stops right at the fill line etched inside the tank, roughly 1 inch below the overflow tube.
7. Test with a dye check
Drop a few drops of food coloring into the tank without flushing. Wait 10-15 minutes. If color shows up in the bowl, water is still leaking past the flapper seal even after replacement.
This test catches slow leaks that don't hiss or make noise but still waste water around the clock.
Common mistake: skipping this check and assuming the job's done just because the tank sounds quiet.
Troubleshooting
Toilet runs intermittently, not constantly. The flapper is likely sealing most of the time but slipping occasionally — check chain length and replace the flapper if it's more than 3-4 years old.
Water level rises above the overflow tube even with a new fill valve. The float is set too high or the fill valve itself is defective out of the box — verify the float adjustment before assuming the part failed.
Handle feels loose or doesn't fully trip the flush. The handle arm or chain connection is worn, not the flapper — tighten the mounting nut inside the tank (it reverse-threads on most models).
Toilet runs right after installing a new flapper. The flapper doesn't match the flush valve seat size — universal flappers don't fit every toilet brand, especially older Kohler or American Standard models.
Tank refills slowly after every flush. Check the supply line shutoff valve — it may only be partially open, restricting flow to the fill valve.
Water bill still climbing after the fix. Rule out a second issue: a slow supply line leak or a low water pressure problem elsewhere in the house can mimic higher usage on the meter.
Still hearing water run?
Book a plumbing visit if the parts swap didn’t stop it.
Tools and resources
- Universal flapper and fill valve kits, available at any hardware store
- Adjustable pliers for locknut and supply line connections
- Food coloring for the dye leak test
- If the flush valve seat itself is cracked, that's a job for a licensed plumber, not a parts swap
- For homes with recurring plumbing failures beyond the toilet, a low water pressure repair diagnosis can catch issues the toilet fix won't touch
What to do next
If the flapper and fill valve are both new and the toilet still runs, the flush valve seat inside the tank is likely worn or cracked — that requires draining and removing the tank, which is where most DIYers stop. At that point, call in a licensed plumber rather than keep swapping parts that aren't the actual problem.
Same goes for any toilet older than 20 years that's had two or more failed parts in the last year — replacement often costs less than another service call. If plumbing issues are piling up outside the bathroom too, an emergency plumber in Salt Lake City can handle same-day diagnosis instead of guessing at parts one at a time.
FAQ
How do you fix a running toilet fast?
Check the flapper first — it causes most running toilets and swaps out in under 10 minutes for $5-$10. If the flapper looks fine, the fill valve or float is the next thing to check.
What is the most common cause of a running toilet?
A worn or warped flapper is the most common cause, especially in hard-water areas where mineral buildup keeps the seal from closing flat. Replacing it fixes the majority of running-toilet calls in 2026.
How much water does a running toilet waste?
A running toilet can waste up to 200 gallons of water a day, according to EPA WaterSense estimates. That shows up as a noticeable jump on the next water bill even if the noise is barely audible.
Can I fix a running toilet myself or do I need a plumber?
Most running toilets are a DIY fix — flapper and fill valve replacement take under 30 minutes with basic tools. Call a plumber if the flush valve seat is cracked or the tank itself needs removal.
Why does my toilet keep running after I replaced the flapper?
The new flapper may not match your toilet’s flush valve seat size, or the fill valve and float are the actual problem, not the flapper. Run the dye test to confirm where the leak is coming from before replacing more parts.
How often should toilet flappers be replaced?
Every 3-5 years is typical, faster in homes with hard water where mineral buildup degrades the rubber seal sooner. If your toilet runs intermittently, check the flapper before anything else.
Is a running toilet an emergency?
It’s not a plumbing emergency in the burst-pipe sense, but it wastes water continuously until fixed, so it’s worth addressing within a day or two. A toilet that won’t stop running and won’t respond to a flapper or fill valve swap should get a same-day look.
What does it mean if the toilet tank keeps refilling?
A tank that refills on its own without being flushed almost always points to a failed flapper seal letting water leak into the bowl. Check the flapper seat for cracks or mineral buildup before replacing the fill valve.
One last thing
Before buying a new flapper, run your finger along the flush valve seat where the flapper sits — a rough or pitted seat won't seal against even a brand-new flapper, no matter how many you swap in. That's the detail most DIY fixes miss, and it's the difference between a $10 repair and a call that turns into replacing the whole flush valve assembly.
Related guides
- Low water pressure repair for older Utah homes
- Faucet repair for leaking kitchen sinks
- Toilet installation for bathroom remodels
- Emergency plumber in Salt Lake City