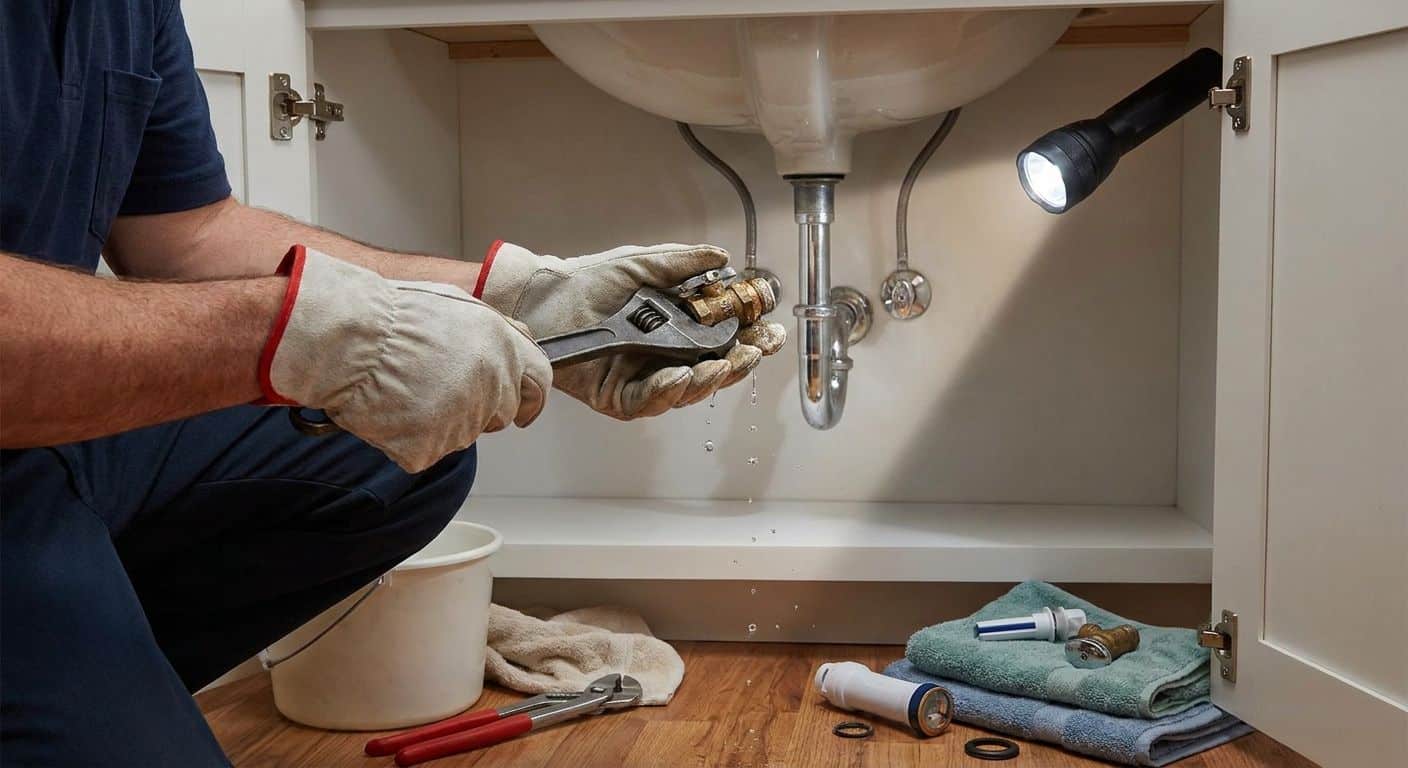
How to Fix a Leaking Shut-Off Valve Under a Sink (2026)
August 28th, 2026
A leaking shut-off valve under your sink usually means a worn packing nut, a cracked stem, or mineral buildup keeping the seal from closing — and in most cases you can fix it yourself in under an hour with basic tools.
- Tightening the packing nut a quarter turn stops most shut-off valve leaks in under 5 minutes.
- A valve leaking from the body (not the stem) usually needs full replacement, not a repair kit.
- Multi-turn compression valves fail more often than quarter-turn ball valves — Expert Services recommends swapping old compression valves during any sink project.
- Shut off the main water valve first if the angle stop won’t fully close, per Expert Services’ emergency shut-off guide.
Why this matters
A slow drip under the sink looks harmless until it isn't. Water pooling in a cabinet base for weeks rots particleboard, feeds mold, and can migrate down into subfloor you won't see until the vinyl starts bubbling. In 2026, most Northern Utah homes still have shut-off valves original to the house — some 20+ years old — and mineral-heavy municipal water accelerates wear on the rubber packing and seat washers inside those valves.
A valve that won't fully close is also a safety problem. If you ever need to shut water to a fixture fast — a burst supply line, an overflowing toilet — a seized or leaking angle stop leaves you no way to isolate the problem short of killing water to the whole house. Fixing the leak now means the valve actually works when you need it.
What you'll need
- Adjustable wrench or slip-joint pliers
- Flathead and Phillips screwdrivers
- Replacement packing washer or valve packing string (sized to your valve stem)
- Plumber's grease or pipe joint compound
- Bucket or towel for residual water
- Channel-lock pliers
- A new quarter-turn compression valve (if repair fails) — available at any hardware store
- Teflon tape
If you're not sure how to isolate water to the fixture without shutting down the whole house, review how to shut off your home's main water valve in an emergency before you start. Knowing that shutoff location matters if the angle stop itself won't seal.
The steps
1. Identify where the leak is coming from
Run a dry paper towel around the valve body, the packing nut, and both compression fittings. Where it comes back wet tells you the fix. A leak at the packing nut (the hex nut just behind the handle) means the packing seal is worn — a 10-minute fix. A leak from the valve body itself or from a hairline crack means the valve needs replacement, not repair.
2. Shut off water to the fixture
Close the shut-off valve fully, then open the faucet above it to release pressure and drain the remaining water in the line. If the valve won't close all the way — a common failure mode on old multi-turn valves — shut off the home's main water valve instead and drain the line at the lowest point.
3. Tighten the packing nut
Using an adjustable wrench, turn the packing nut clockwise in quarter-turn increments. Stop as soon as the leak stops — overtightening cracks the nut or seizes the stem, and you'll be buying a new valve anyway. This single step resolves the majority of stem leaks reported on 2026 service calls without needing to open the valve.
4. Replace the packing washer if tightening doesn't work
Back the packing nut off completely and slide it up the stem. You'll see a rubber or graphite packing washer (or braided packing string) wrapped around the stem below the nut. Remove the old material with needle-nose pliers, wrap new packing string around the stem three to four times, or seat a new washer, then thread the nut back down finger-tight before finishing with the wrench.
5. Check the compression fittings
If water is coming from where the valve meets the supply line or the wall stub-out, the compression nut has loosened or the ferrule has failed. Tighten the compression nut a half-turn with two wrenches — one holding the valve body steady, one turning the nut. If it still weeps after tightening, the ferrule needs replacement, which usually means replacing the fitting kit entirely.
6. Test under full water pressure
Turn the main water supply back on, then slowly open the angle stop. Watch the packing nut and both fittings for 60 seconds under full pressure — leaks that don't show at low flow often appear once the line is fully pressurized. Run the faucet for two minutes to confirm the fix holds under actual use.
7. Replace the valve if the repair doesn't hold
If the valve body is cracked, corroded, or still leaks after a new packing seal, stop repairing it and replace it. Shut off the main, cut or unscrew the old valve, apply Teflon tape to the threads, and install a new quarter-turn compression valve — these seal more reliably long-term than the multi-turn valves common in older Utah homes.
Common mistake: overtightening the packing nut past the point the leak stops. It doesn't buy extra insurance — it strips threads and cracks brittle old valve bodies, turning a $6 repair into a $40 replacement.
“If tightening the packing nut a quarter turn doesn’t stop the drip, stop turning — you’re about to crack the valve, not fix it.”
Troubleshooting
Valve leaks only when the faucet is running. This points to a worn seat washer inside the valve body rather than the packing nut, and it's a sign the valve is due for replacement rather than repeated repair.
Handle spins freely and won't shut off water. The stem has stripped internally. No amount of packing adjustment fixes this — replace the valve.
Leak reappears within a week of tightening the packing nut. The packing material has degraded from mineral deposits in the water and needs full replacement, not just tightening.
Water pools under the cabinet even when no leak is visible on the valve. Check the supply line connection at the faucet itself and the drain trap — condensation and a slow drain leak both get misattributed to the shut-off valve. See faucet repair for leaking kitchen sinks if the leak traces back to the faucet.
Corrosion or green residue on the valve body. That's copper reacting to prolonged moisture exposure. Replace the valve — corrosion this visible means the metal is thinning, and a temporary repair won't hold.
Valve won't budge after years of no use. Don't force it with a wrench — penetrating oil and gentle back-and-forth pressure over several minutes is safer than snapping the stem off inside the body.
Tools and resources
- Adjustable wrench, channel-locks, and screwdrivers (most homeowners already own these)
- Replacement packing washer kits, sized by stem diameter, from any hardware store
- Quarter-turn compression valve for full replacement
- How to fix a running toilet if you're tackling more than one fixture leak in the same visit
- Low water pressure repair for older Utah homes if closing the valve fully changes flow at other fixtures
Skip the repair, book a plumber
If the valve won’t seal or you’re not confident shutting off the main, schedule a visit.
What to do next
If you've replaced the valve and the leak persists, or if you're seeing corrosion on multiple fixtures across the house, the problem may be pipe material rather than the valve. Older Utah homes built with polybutylene are prone to this exact failure pattern — read polybutylene pipe replacement for older Utah homes to check if your supply lines are affected before you keep swapping valves one at a time.
FAQ
How do you fix a leaking shut-off valve under a sink?
Tighten the packing nut behind the handle in quarter-turn increments first — this stops most leaks in under 5 minutes. If that fails, replace the packing washer or the entire valve if it’s cracked or corroded.
Can I fix a shut-off valve without turning off the main water line?
Yes, if the valve fully closes on its own supply line. If the angle stop won’t close all the way, you’ll need to shut off the home’s main water valve first to drain the line safely.
How much does it cost to replace an under-sink shut-off valve?
A basic quarter-turn compression valve costs a modest amount at any hardware store, and the repair takes under an hour for most homeowners. Professional replacement adds labor but guarantees a proper seal on compression fittings.
Is a leaking shut-off valve an emergency?
A slow drip is not urgent, but a valve that won’t close at all is, especially if a supply line fails elsewhere in the house. Test that the valve fully shuts before you rely on it in an emergency.
Why does my shut-off valve leak only when the faucet is running?
That points to a worn seat washer inside the valve body reacting to water flow, not a packing nut problem. Replacement is usually more reliable than repeated repair at this stage.
What’s the difference between a compression valve and a quarter-turn ball valve?
Compression valves need multiple turns to close and rely on a rubber washer that wears out over years of hard water exposure. Quarter-turn ball valves close in a single motion and hold a tighter seal longer, which is why they’re the standard replacement choice in 2026.
Can hard water cause a shut-off valve to leak?
Yes, mineral buildup from hard water degrades the packing material and seat washers faster than in areas with softer water. Utah’s mineral-heavy municipal water is a common factor in valve failures under 10 years old.
Should I replace all the shut-off valves in my house at once?
Not necessarily, but if one valve has failed from age or corrosion, others installed the same year are likely close behind. Replacing them during an unrelated plumbing project saves a second service call later.
One last thing
Most homeowners never test their shut-off valves until they're already leaking or already needed in an emergency — by then it's too late to discover the valve is seized. Once a year, turn every angle stop under every sink fully closed and back open; it takes five minutes and tells you exactly which valves need attention before they fail on their own schedule.
Related guides
- How to shut off your home's main water valve in an emergency
- How to fix a running toilet
- Faucet repair for leaking kitchen sinks
- Low water pressure repair for older Utah homes
- Polybutylene pipe replacement for older Utah homes